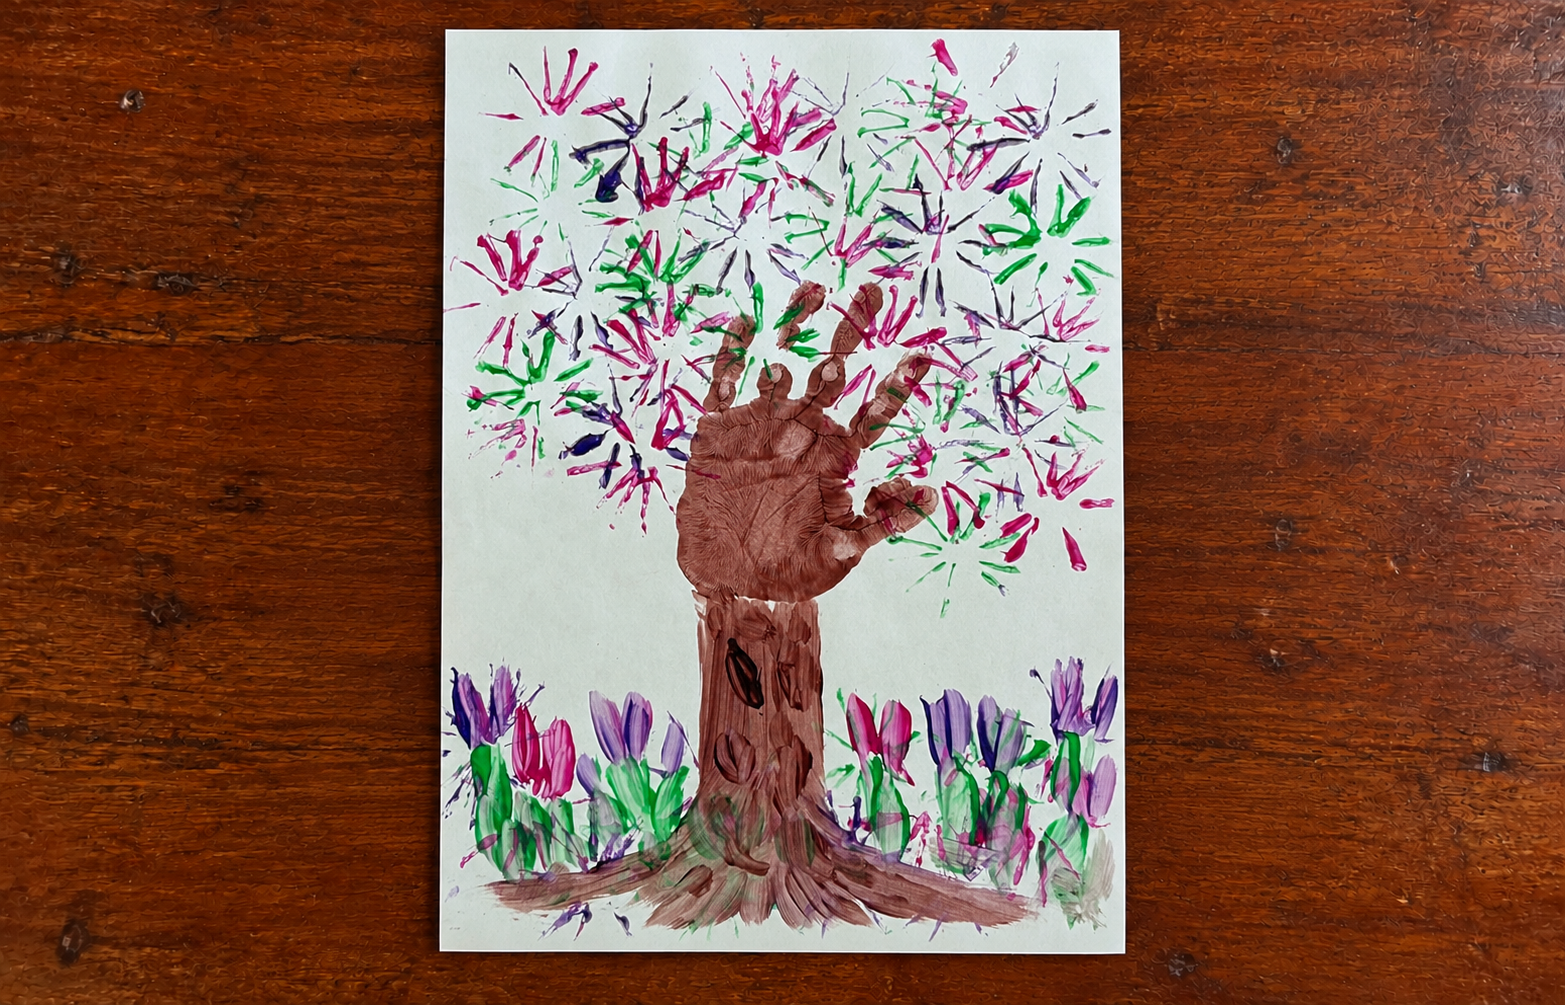
Paint your child’s hand with brown paint and press it firmly on the paper to make a handprint tree trunk and branches. Let it dry while you prepare the next step.
Take a plastic straw and cut several straight slits—about 2–3 cm deep—into one end, spacing them evenly around. Gently bend the cut pieces outward to create a flower-like shape for stamping.
Once the handprint is mostly dry, dip the flared end of the straw into pink paint, making sure it’s evenly coated, and stamp around the branches to form blossoms.
Use another straw (or rinse the same one) to dip into green paint and stamp around the blossoms for leaves. Repeat with all the other colors you’d like to add for a bright springtime look.
Overlap the colors for a fuller, more natural look. Let everything dry completely before displaying your beautiful spring tree.
Why We Love It:
Encourages observation and curiosity about how trees change with the seasons.
Promotes patience as little artists wait for paint to dry and layer colors.
Builds fine motor skills as little hands stamp, paint and press.
A perfect bonding craft for parents and kids to create side by side.