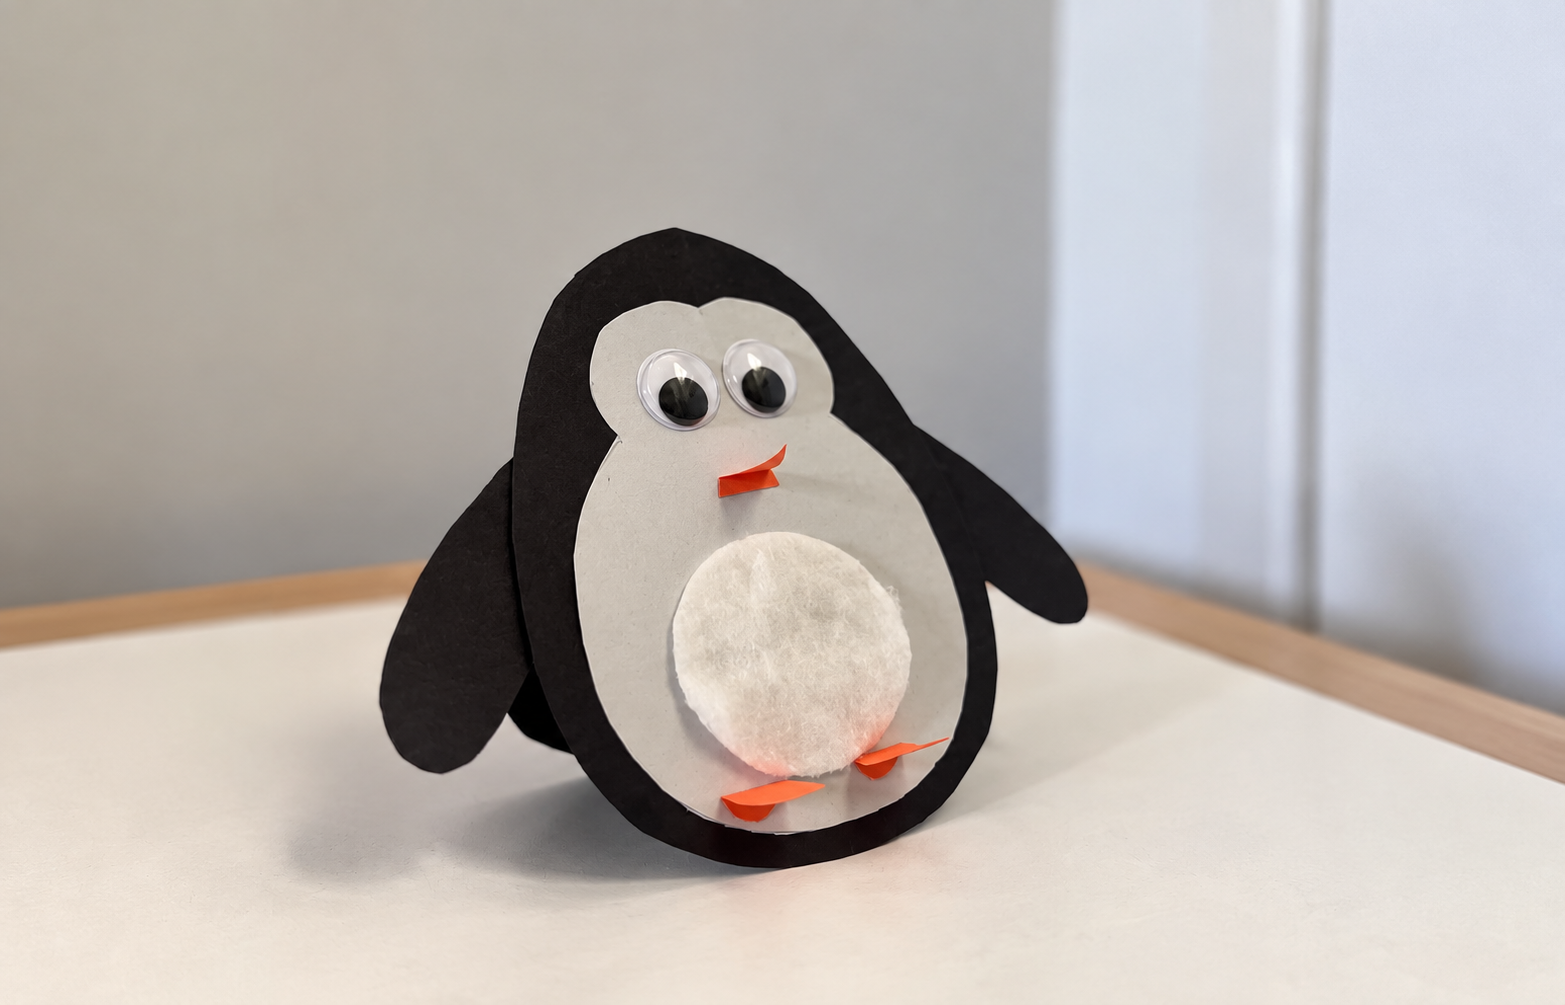
On black paper, draw a large oval (like an egg shape) and cut it out — this will be your penguin’s body. Then, cut another oval of the same size. Glue the tops of the two ovals together, leaving the bottom open — this little fold at the base helps your penguin stand up and gently wiggle.
Cut a smaller white shape for the penguin’s front — not a perfect oval, but slightly curved or notched just above the middle to separate the face from the tummy. Glue it onto the top half of the black body to create that cute penguin look.
Take a round cotton pad, pull it apart slightly to make it soft and fluffy, then glue it on the lower half of the body.
Cut two small flipper shapes from black paper and glue them to the sides.
Cut two tiny ovals from orange paper for the feet and a small orange triangle for the beak, then glue them in place.
Add googly eyes and your penguin is ready to wiggle.
Why We Love It:
Encourages creativity and imagination through simple materials.
A sweet way to learn about winter animals and their habitats.
Perfect as a winter decoration or a homemade card design.